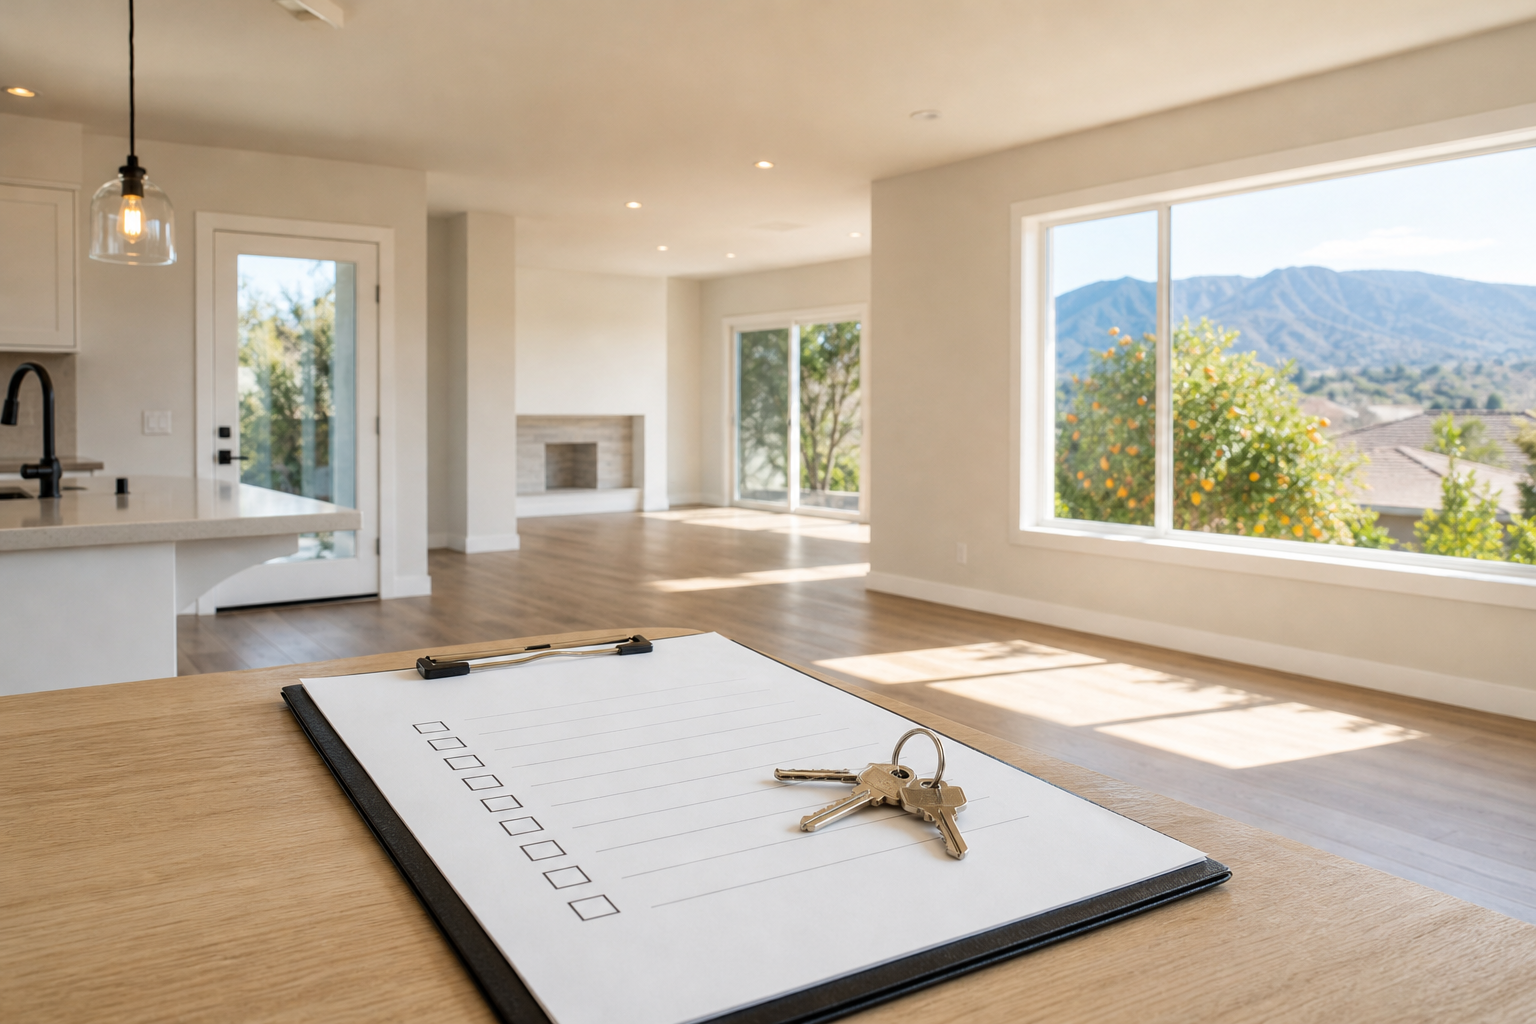
Upland Final Walkthrough Checklist: What to Check Before Closing
The final walkthrough is not another house-hunting visit. By this stage, you have already chosen an Upland home, investigated its condition and negotiated the terms. The remaining task is narrower: compare what you find today with the condition, included items and work described in your signed agreements, then raise unresolved differences before the transaction moves forward.
I’m Jeff Upp with RE/MAX Champions, serving Southern California buyers and sellers since 1990. This Upland final walkthrough checklist helps you organize that last property visit without confusing it with a new inspection or assuming it gives you rights your contract does not provide.
1. Arrange the visit around the actual closing and possession plan
Ask your agent to coordinate the walkthrough with the seller and the transaction’s schedule. The right timing depends on your agreement, access arrangements, anticipated closing and any separate possession terms. Do not assume there is a universal deadline or that the seller must already have moved out when you visit.
Clarify three separate milestones: your property verification visit, the completion of closing, and when you are entitled to possession. Signing loan documents is not a substitute for confirmation that the transaction has closed and possession is available. If the seller will remain after closing, review the written arrangement and discuss whether an additional condition check is appropriate.
If you are earlier in the process, the Upland-area property search can help you compare options. This checklist is for the later stage, when one property and its signed terms—not competing listing photos—are the focus.
2. Bring the documents that define what you are checking
Prepare a short reference packet rather than trying to remember every conversation. Include your purchase agreement, relevant addenda, written repair agreements, inspection photographs and any documentation provided for completed work. Ask your agent which documents establish the seller’s obligations.
- Condition baseline: dated inspection photographs and notes about previously observed conditions.
- Agreed work: the exact written repair scope, not an informal wish list.
- Included and excluded items: appliances, fixtures, equipment and other items addressed in the agreement.
- Open questions: anything already identified that still needs an explanation or verification.
A listing photograph may help identify an item, but do not assume everything pictured conveys with the property. Likewise, an inspection recommendation is not automatically a seller repair obligation. Keep the negotiated agreement separate from the inspector’s broader maintenance advice.
3. Start outside and look for changes
Walk accessible exterior areas with your agent. Look for new damage, debris, recently disturbed landscaping or visible signs that conditions have changed since your earlier visits. Check accessible gates and garage doors using ordinary controls when safe and permitted. Do not climb onto the roof, open electrical equipment or enter an unsafe area.
For an Upland property with sloped access, retaining features or outdoor equipment, revisit the particular areas that mattered during your investigation. The purpose is comparison, not a fresh structural assessment. If something looks different, photograph the observation and ask the appropriate professional to evaluate it rather than diagnosing it yourself.
4. Check the interior room by room
Use the same route through the house so you do not overlook a room. Where accessible, look behind spaces previously covered by furniture and inspect walls, ceilings and flooring for apparent new damage. Moving can reveal older conditions as well as cause new ones; document what you see without prematurely deciding which occurred.
With utilities available and permission to operate ordinary controls, check lights, faucets, toilets, accessible windows and included appliances. Look under sinks after running water for visible leakage. Ask before operating equipment you do not understand, and avoid forcing stuck controls or running heating or cooling equipment in conditions that could damage it.
A brief operational check is not a professional inspection, warranty or assurance of future performance. If utilities are disconnected or a system cannot be tested, record that limitation. “Not checked” must not quietly become “working.” Pools, solar installations and specialized equipment may need separate professional attention if a question remains.
5. Verify agreed repairs against the written scope
For each agreed repair, compare the observed work with the actual wording. Request the invoices, permits, approvals, warranties or other evidence required by the agreement, and ask what the documents establish. A receipt can show that someone billed for work; it does not by itself prove the underlying issue is fully resolved.
If a qualified specialist is needed to verify a material repair, coordinate that visit early enough to address the result. Do not expect an agent or buyer to certify electrical, roofing, plumbing or structural work from appearance alone. If a surface is freshly painted, for example, that does not establish why a prior moisture stain occurred or whether the source was corrected.
This is different from reopening the entire inspection negotiation. You are checking agreed performance and apparent changes. Questions about remedies, timing or contractual consequences should be addressed through your agent and, when appropriate, a California real estate attorney.
6. Confirm included items, access and handoff details
Compare appliances and other agreed items with your reference list. Identify anything unexpectedly missing or substituted. Discuss how keys, garage remotes, gate devices, mailbox access and any transferable manuals or warranties will be delivered. Do not assume every access item will be waiting on the kitchen counter.
For smart locks, thermostats, cameras or other connected equipment included in the sale, ask about the agreed account-transfer or reset process. Do not enter the seller’s accounts or assume a device subscription transfers. For a condo or townhome, confirm any association procedures affecting move-in or access rather than treating the walkthrough as association approval.
7. Turn a concern into a clear, documented next step
If you find a problem, pause and tell your agent promptly. Record the location, what you observed, photographs when appropriate and which agreement or earlier condition it relates to. A useful note is “water visible beneath the hall bathroom sink after running the faucet,” not “the plumbing is defective.”
Ask what needs professional evaluation, what the signed documents say and whether the closing team needs to coordinate a response. Do not unilaterally withhold funds, assume closing is automatically delayed or accept a verbal promise as a completed solution. Any proposed credit, repair arrangement or timing change needs appropriate written handling and may require lender or escrow review.
What if the final walkthrough shows no obvious problems?
Record what was checked and any limitations, then confirm the remaining closing and possession steps with your transaction team. A satisfactory visit does not guarantee there are no concealed defects. It does give you a more organized basis for asking final questions instead of relying on a rushed look through the front door.
If you are approaching closing on an Upland home, contact me to organize your final walkthrough and possession questions. We can build a property-specific list, involve the right professionals and keep the final visit focused on the agreements you actually signed.